Understanding Sourdough Hydration Levels
This post may contain affiliate links.
Hydration levels are very important in sourdough baking. They affect many parts of the sourdough process from crumb to crust to fermentation time. Understanding its affects will make you a better sourdough baker and give you the ability to adjust to your enviroment’s change in humidity and temperature.
Hydration Percentage
The hydration percentage is calcuated by dividing the amount of water by the amount flour and then multiplying the resulting proportion by 100. Flour is always your divisor. For example, given 45g water and 90g flour you would perform the following cacluation:
45 / 90 x 100 = 50% hydration level.
Now that you understand what hydration level means, let’s go on to how that level affects your starter and bread.
Hydration Levels for Your Starter
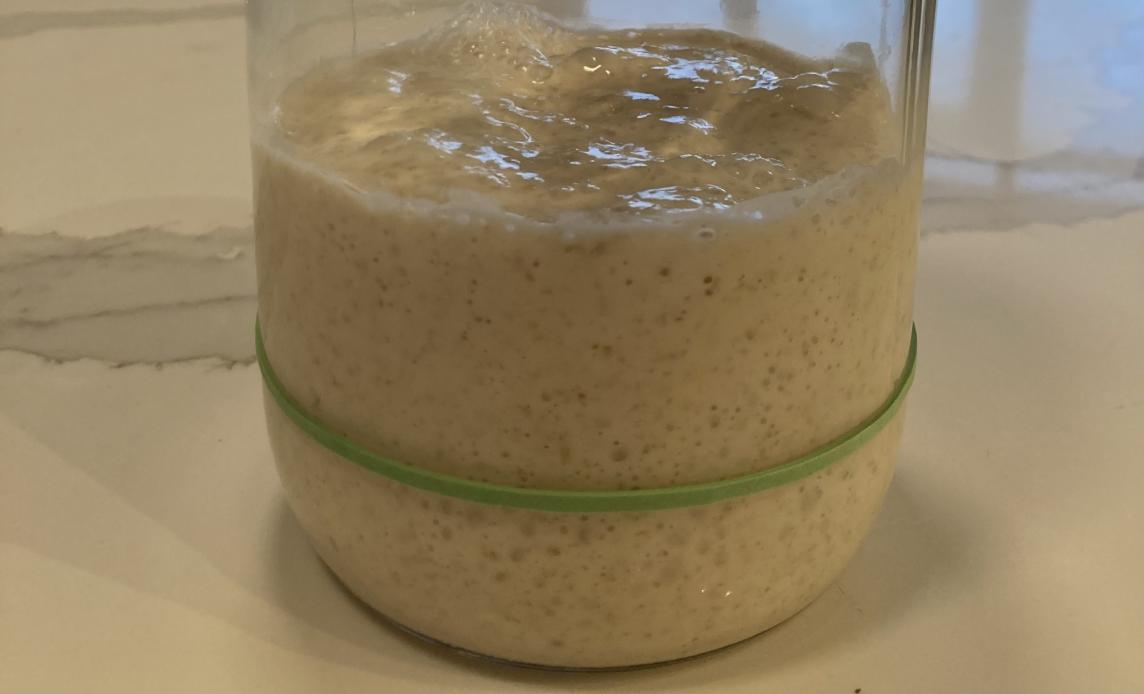
The most common hydration level for sourdough starters is 100% hydration. This means equal parts flour, water, and usually starter. This is what I generally use for my starter since it is easy to mix, measure, and the flavor is nice.
You can increase the amount of water to be more than 100% for a wet starter. This starter type needs to be fed more often since it ferments faster. Your starter creates microbes of lactic acid bateria and yeast that eat up the sugar from the flour. This in turn creates CO2 bubbles that raise your starter and dough. The more water you have the faster these microbes can move and eat. This can come in handly when you want your starter to reach its peak faster than normal.
You can also do the opposite and decrease the amount of water in your starter to be less than 100% for a stiff starter. This type of starter is commonly referred to the Italian name of lievito madre. A stiff starter will have more mellow of a flavor which can be useful for recipes that you don’t want sour like pastries. Keep in mind that this starter will take much longer to rise since the microbes disperse slower.
Hydration Levels for Your Dough
Your sourdough bread can generally range anywhere between 60% to 95%. The humidity of your environment and flours used will determine how high on this range your can go.
High hydration would be anything above 70% and low hydration would be below 70%.
A low hydration sourdough will take longer to ferment. It is also much harder to perform coil folds and stretch and folds. It is however much easier to shape since it isn’t as sticky and is preferable for beginner sourdough bakers as they learn the steps. With low hydration comes tigher crumb and a thicker crust. Firmer dough will retain its shape and have a decent oven spring. Breads like bagels will often have a hydration level of 55% in order to get tight, chewy crumb.
High hydration sourdough will ferment much faster since the microbes can move more freely. Bakers find this desirable because the crumb is generally more open and stretchy. The crust is thinner and crispier. It will also stay fresher for longer due to the excess water. High hydration loaves will result in a flatter final loaf. Coil folds and stretch and folds are important for this type of dough to build gluten structure. Higher hydration dough is often used in artisanal breads.
Some flours are not able to withstand high hydration. Whole wheat flour is significantly thirstier than bread flour and can easily take higher hydration. Keep this in mind when experimenting.
Another factor is your environment. If you live in humidity, you won’t need as much water. Your dough and starter will pull moisture from the air. Conversely, if you live in a dry area you may need to up the water level.
Start with my classic sourdough recipe which has a hydration level of 70% and play around with different hydration levels to see what works best for you and your sourdough!
More delicious sourdough recipes
This is one of the many fantastic sourdough recipes available on this blog
